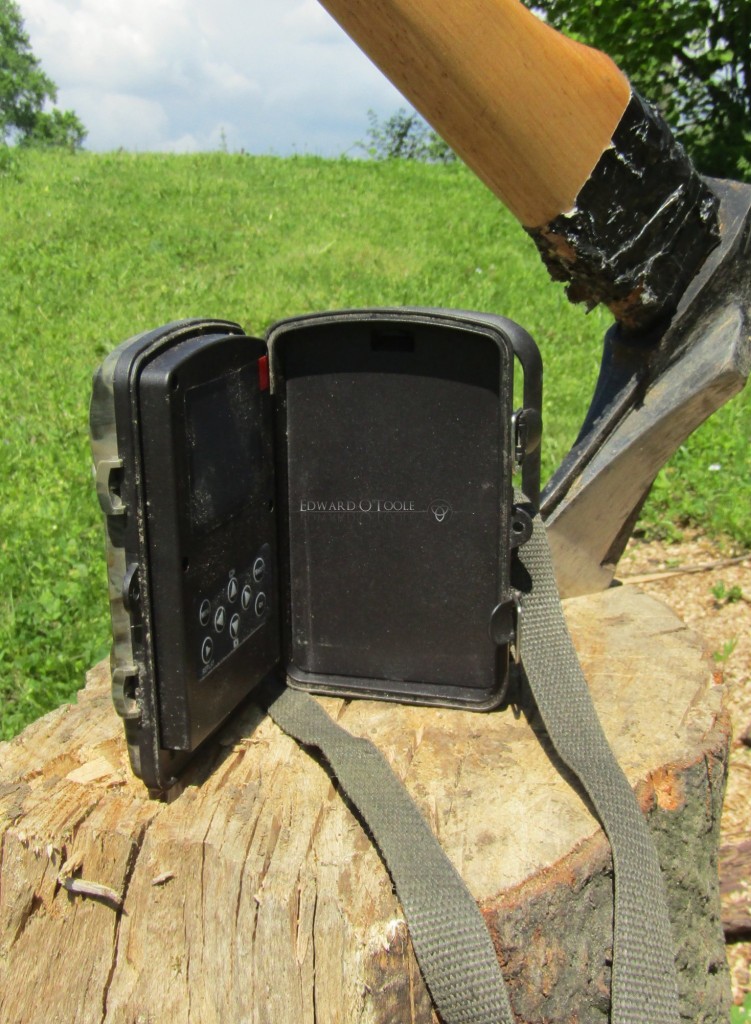
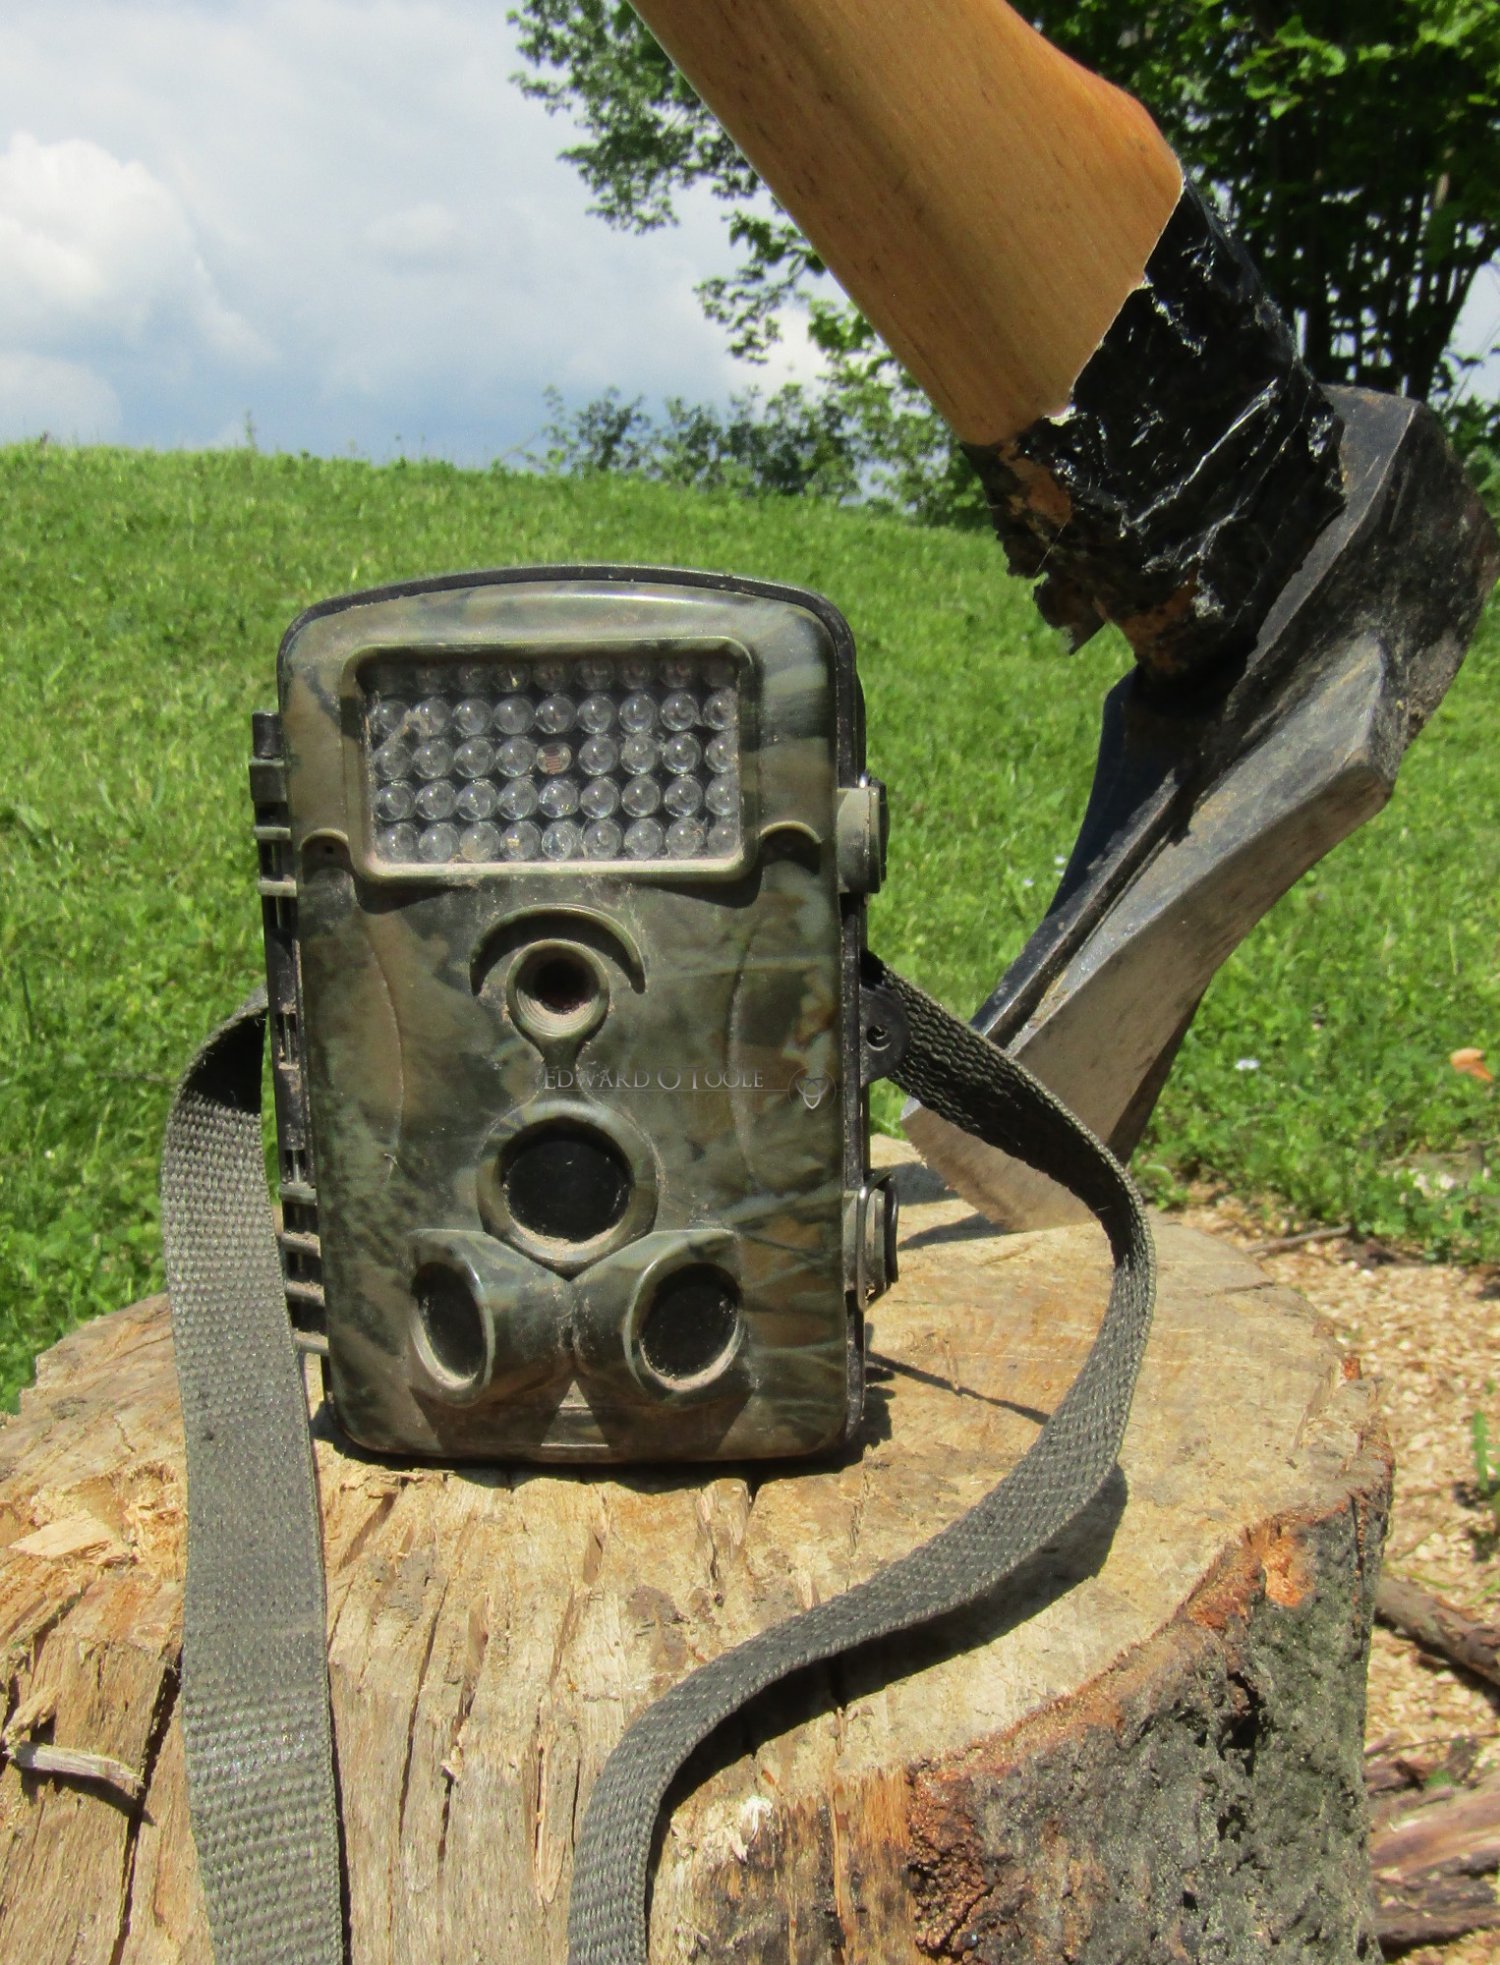
This weekend I finally retired my old trail camera, an RD1000. I think it cost me about 70 GBP 4 years ago. It’s not the cheapest of trailcams but it’s certainly not a higher end one (such as a Bushnell, Browning or Moultrie). As I need a game camera merely to record the different species in my area rather than have perfect quality photos of animals, it seemed up to the task. Another big bonus is that if it got stolen then it wouldn’t hurt my pocket as deeply as a 500+ GBP one.
I originally bought the camera to record the animal activity in my attic. It took several months before I’d worked out how to set it up and locate it properly in order to start getting results – and it did a fairly good job. Once satisfied, I moved it into the woods behind the house to see what might be lurking there. Much of learning to use a trail camera comes only with experience (and a knowledge of animal tracking). Unfortunately, the ideal place (for me, at least) to set up a trail cam most likely also caused its eventual technical downfall. I usually set up trailcams beside creeks and streams where game trails ford them as this provides the best results in terms of sheer numbers of species caught. However, due to the vast temperature differences we have in my region (40 C down to -30 C), this can – and did – have an adverse affect on what is basically only a sprayproof, rather than waterproof, camera.

After a year of using the RD1000 I discovered that most videos it took (I generally have it set up to take 2 photos and a 10 second film) turned out to be File Errors. One year later and I’d lost all access to the Menu and Review. I eventually retired it because it was no longer taking 3 photos per burst and often many it did take turned out to be File Errors. I suspect that this was due to moisture (dew, mist, etc) getting into the casing and affecting the electronics inside. In eastern Slovakia we can go from 25 C during the day to -7 C at night, which would mean that any moisture inside the casing would freeze.
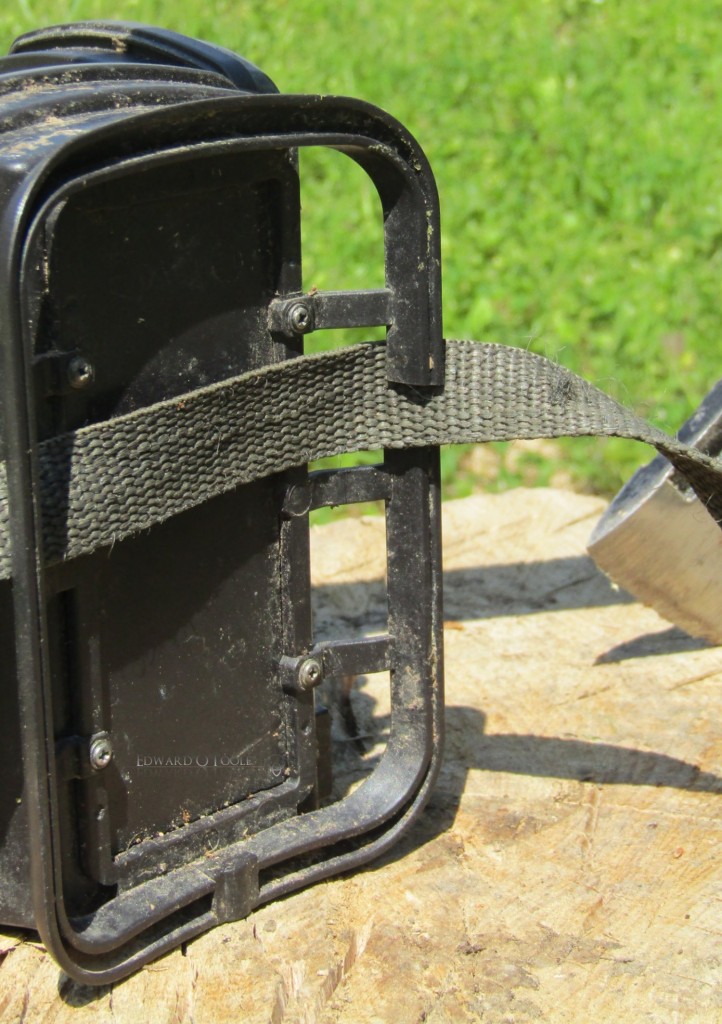
One other flaw is the plastic rear mount, through which the webbing strap is threaded. While mounting to a tree, if you pull too tightly you can snap the fairly weak and thin plastic struts which will cause you endless frustration when you use it in the future as the strap will often work its way out as you’re tightening the camera, meaning you have to remove it, unthread the strap and then start the process again. Just be aware that the plastic mount is not very strong despite it being designed for use in a rugged environment.

That’s not to say that I don’t like the camera. I do. It’s fairly inexpensive and it does exactly what it says on the box. Just don’t expect National Geographic quality photos or a long life span. I’d say that it’s ideal to use for one year and then be replaced. As a starter camera to learn to get to grips with the field it’s ideal – I certainly wouldn’t want to spend much more until I knew what I was doing with them.
I’ve replaced the RD1000 with what I believe to be the RD1006 (although as there’s no identifying number on the box or on the camera itself I only have the EBay seller’s word on it). I’ve only had it out in the field for a couple of days and I’m truly hoping that the photos get better as the exposure time is way too slow for a forest environment – meaning that all the animals look blurred, something I didn’t experience with the RD1000 until the last month of its use.
In honour of the RD1000, here’s a list of some of the animals I recorded with it (either in my home or in the surrounding area):
Brown Hare
Carpathian Red Deer
Edible Dormouse
Eurasian Lynx
Eurasian Wolf (albeit only its tail)
European Badger
Pine Marten
Red Fox
Red Squirrel
Roe Deer
Stone Marten
Wild Boar
Wild Cat
There are still several species in my area which I haven’t managed to catch yet and I hope the new RD1006 helps me get them. Trailcams are addictive to use. A bit like Pokemon for naturalists.

